SpeedTree Cinema, our Academy/Emmy award-winning vegetation modeling tool, supports a range of DCC applications and renderers with custom scripts for importing SpeedTree materials and geometry. Today, we’re excited to announce that an add-on for Blender now comes standard, making it easier than ever for artists to export from SpeedTree Cinema to Blender.
Skip the messy node-wrangling and import trees with your textures in place, ready to work. The add-on correctly imports the SpeedTree model’s PBR textures using the .stmat (SpeedTree material) file that exports alongside the static mesh (ex: .abc, .fbx, .obj).
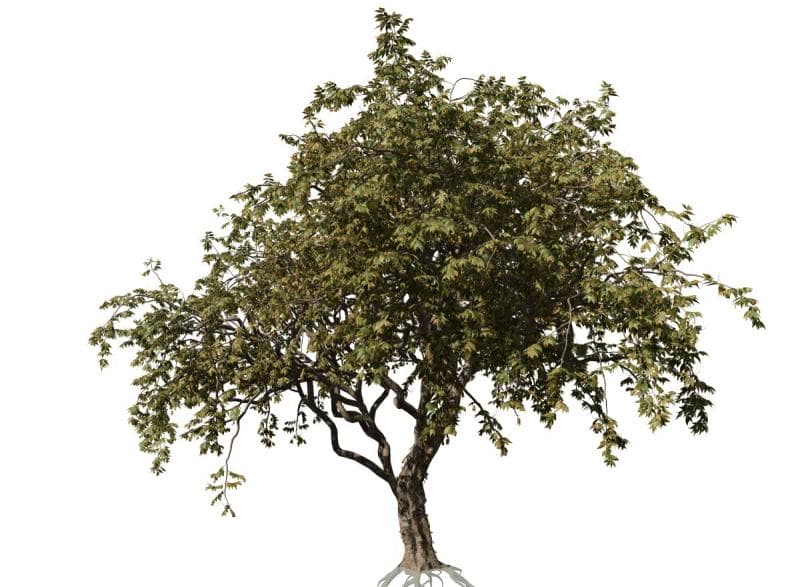
 (Render impeccably detailed trees like our Chinaberry pictured here, rendered in Blender using Cycles)
Check out the videos below to learn how to install the add-on, export a SpeedTree, import it into Blender, and scatter trees across a plane using Blender’s particle system modifier!
Installing the Add-On
To install the add-on, grab the SpeedTreeAddon.zip file from the script folder located in the install location of the SpeedTree modeler. Alternatively, download the zip file here.
In Blender 2.8 or later, open the preferences window and navigate to the add-on tab (edit > preferences > add-ons). Use the install add-on from file option and navigate to the where the add-on zip is located in the hard drive. Once added, be sure that the “Import-Export: SpeedTree .stmat” format is checked as active.
Exporting a SpeedTree
Once you’ve finished modeling your tree in SpeedTree and are ready to export, use the “export mesh” option in SpeedTree Cinema (not available in subscription or Indie licenses). This will write out the file in the format you’ve selected (fbx, obj, or abc), as well as a .stmat file. This .stmat file is what you’ll import using the add-on in Blender.
In the export settings, you can apply a transform or scale to match your scene, choose to export animations, bones, leaf references, or spines, and set the texture format and size. Once you’ve made sure export settings are correct, choose “ok” to save the files.
An important note about Alembic files: due to some limitations of the Alembic format HDF5 in Windows, you’ll need to utilize the Ogawa format instead. Additionally, Blender may crash while trying to import large animated Alembic files, so we recommend keeping them under 2 GB.
Importing a SpeedTree into Blender
To import the .stmat file, navigate to File > Import > SpeedTree (.stmat) and select the .stmat file from your export folder.
The add-on will create and assign the appropriate materials to the model. From there, you’re free to populate and compose your scene! Note that the material will render in both Eevee and Cycles.
(Not seeing the new import option? Close Blender and reopen it to confirm changes to your preferences.)
Scattering SpeedTrees with a Particle System Modifier
While there are several add-ons and tools available to scatter objects in Blender, utilizing the built-in particle system is a great way to quickly scatter vegetation.
To start, after you import your SpeedTree, set the visibility (object context > visibility) by unchecking “Show in Viewports” and “Show in Renders.”
Next, create a particle system modifier on the object/plane where you will be scattering your trees. The quickest way to select your plane is to go to the particle context and hit the “+” button next to the list.
Set the style to “hair” and check “advanced.” You’ll notice that it has now set up “hairs” across your geometry. The number of instances you want in this particle can be controlled by the number under the emission tab.
 (Hair emitters scattered on a plane)
From here, go to the render drop-down in the particle settings and set “render as” to “object” and uncheck “object rotation.” Drag the object you want to instance and scatter to the object slot.
The scale of the object will likely be smaller than your original import— you can scale it with the hair length or the “scale” in the render drop-down of the particle context.
All of your objects will be oriented in the same direction. To get some variety, activate the rotation drop-down and set the orientation axis to “normal-tangent.” Now you can randomize the lean angle of the object using the “randomize slider” or randomize the rotation of the object by adjusting the “randomize phase slider” below it.
 (Grass scattered, randomly rotated, and scaled)
You can also scatter multiple objects at once by grouping them in a collection and selecting “render as collection” instead of object.
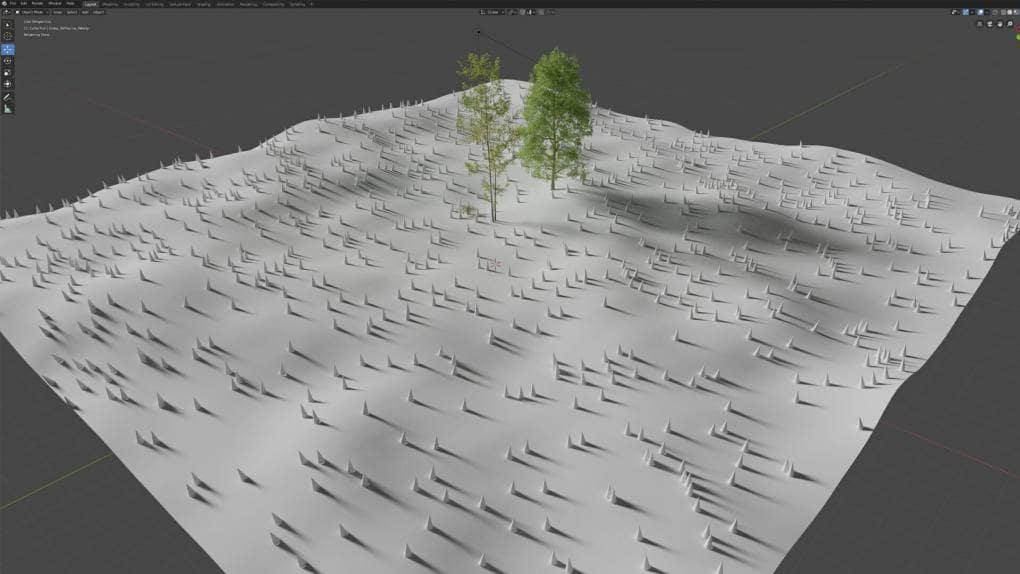
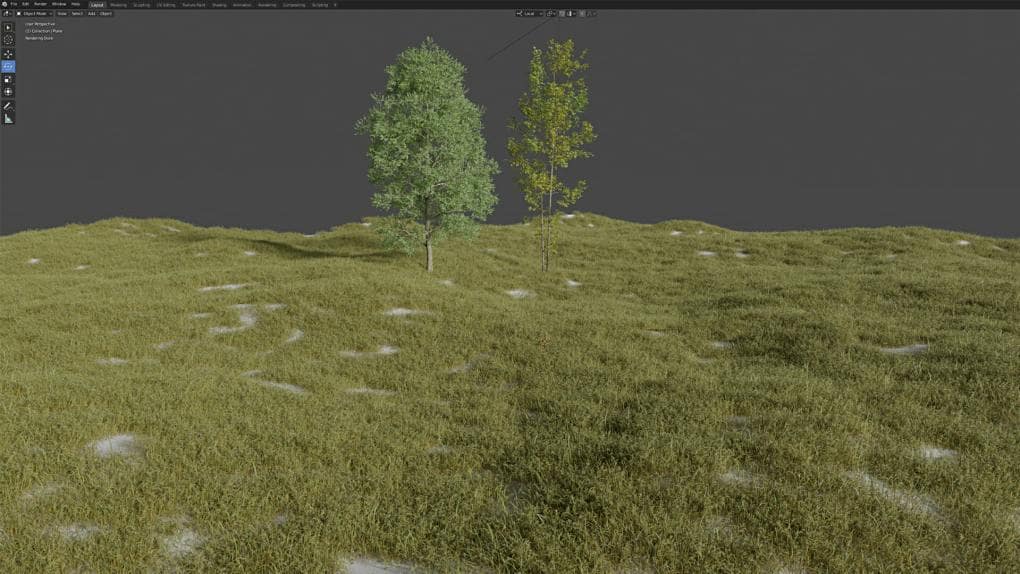
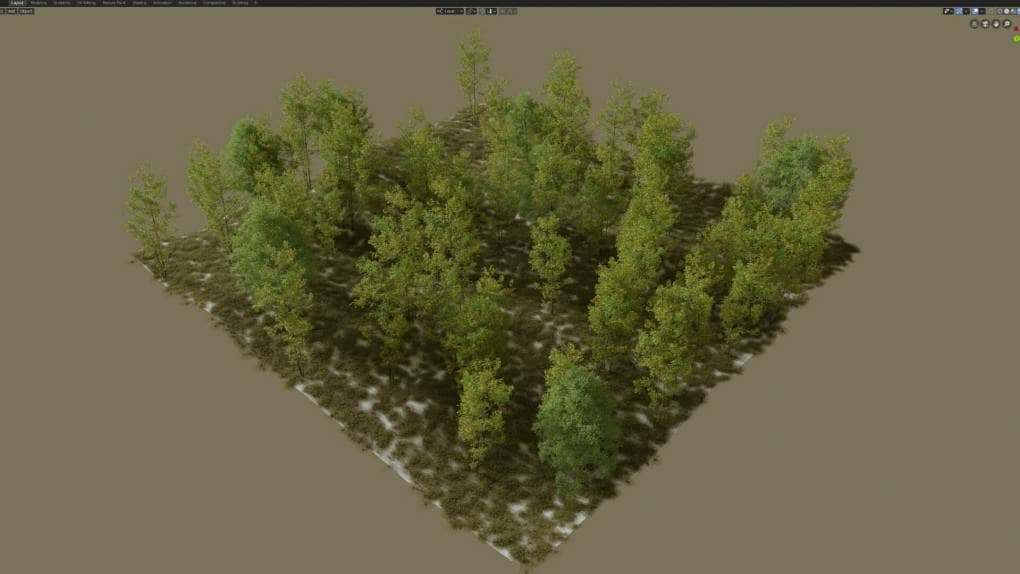 (Two particle emitters scattering a collection of trees and a single grass model)